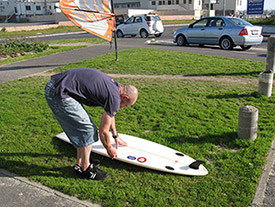
 Getting a ding in your board is not only frustrating but it also means time out of the water…
The traditional way to repair boards is time consuming and you need to have polyester resin, cloth, hardener, acetone, brush, masking tape, sand paper and a lot of time.
Travelling surfers had to travel with a box of expensive and messy resin and hardener to be able to do emergency repairs.
Relax guys ….. Sun Cure is the light at the end of the tunnel!
What is Sun Cure?
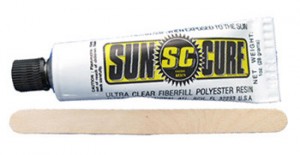
Sun Cure is an ultra violet (UV) light activated polyester resin. This means that the resin will only harden completely in just a few minutes after being exposed to the sun’s UV light. It is great for instant repairs on surfboards. Sun Cure is fiberfilled for strength and requires no mixing and can be used in all temperatures. It is easy to sand after cured.
Sun Cure is neatly packaged in a small tube, no bigger than a tube of toothpaste and is really easy to use.
When can you use Sun Cure resin kits ?
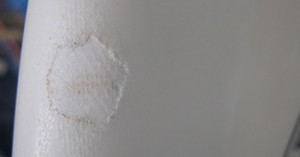
Most small to medium sized dings and punctures that may occur on your board’s nose, tail, rail or flat surfaces
When can you not use Sun Cure resin kits?
Fin plugs: UV rays cannot penetrate through to cure the resin
Broken boards
Glass on fins: you could use Sun Cure resin but you will need fibreglass cloth to give it structural strength
Any dings not exposed to the sun
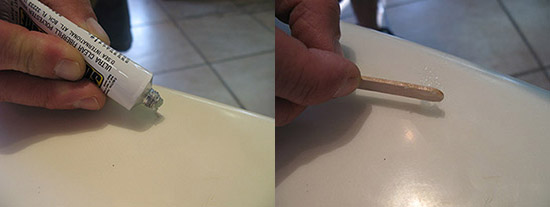
How to do a basic ding repair with Sun Cure
Work indoors when using Sun Cure. This will give you as much time as you need. Trying to do this ouside in the sun will not only let the resin on the repair cure before you are finished but also cause the resin in the tube to harden.
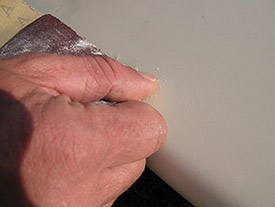
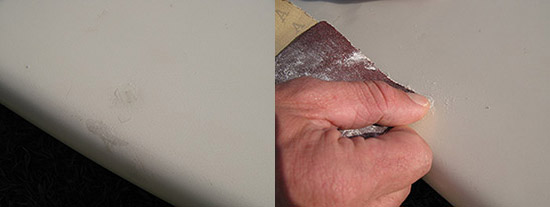
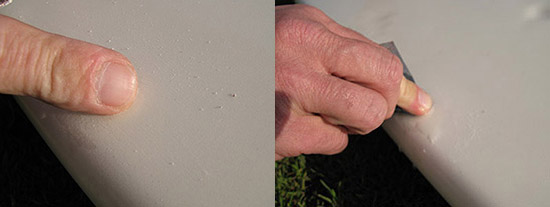
Step 1: Remove all moisture, loose particles and dirt from the repair area. The foam needs to be dry for the best results.
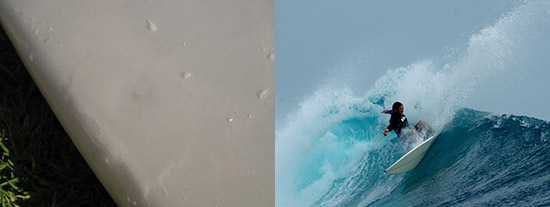
Step 8: Go Surfing !!


